The journey of a landscape photograph doesn't end with the click of the shutter. Explore essential post-processing techniques to bring out the best in your landscape photography. This comprehensive guide will walk you through the workflow and techniques that professional landscape photographers use to transform good images into extraordinary ones while maintaining a natural, authentic look.
Understanding the Post-Processing Workflow
Post-processing is an integral part of modern landscape photography. While capturing a well-composed and properly exposed image in-camera is crucial, post-processing allows you to refine your vision and overcome the limitations of camera sensors. A systematic workflow ensures consistent results and helps you develop a cohesive editing style.
The Importance of a Non-Destructive Workflow
A non-destructive editing workflow preserves your original image data while allowing you to make adjustments. This approach gives you the flexibility to refine or reverse edits at any point in the process. Software like Adobe Lightroom, Capture One, and Luminar excel at non-destructive editing, storing your adjustments as instructions rather than permanently altering the original file.
Organizing Your Images
Before diving into editing, establish an efficient organization system:
- Use consistent naming conventions for your files and folders
- Apply star ratings or color labels to identify your best images
- Create collections or albums based on location, theme, or quality
- Use keywords to make images easily searchable
Pro Tip:
Take advantage of virtual copies in Lightroom or similar software to experiment with different editing approaches without creating multiple files. This allows you to compare different versions of the same image efficiently.
Raw Processing Basics
Shooting in RAW format captures the maximum amount of data from your camera's sensor, providing greater flexibility in post-processing. The initial RAW processing stage sets the foundation for all subsequent edits.
Exposure Adjustments
Start by evaluating the overall exposure of your image:
- Exposure slider: Adjusts the overall brightness of the image
- Highlights: Recover detail in bright areas without affecting the rest of the image
- Shadows: Lift detail in dark areas while maintaining contrast
- Whites: Set the brightest point in your image for proper tonal range
- Blacks: Set the darkest point in your image for proper contrast
White Balance and Color Temperature
Accurate color representation is crucial in landscape photography:
- Use the white balance picker tool on a neutral area of your image
- Adjust temperature (blue/yellow balance) to match the lighting conditions
- Fine-tune tint (green/magenta balance) for accurate color rendition
- Consider the mood you want to convey—warmer tones often feel more inviting, while cooler tones can create a more serene atmosphere
Profile and Presence Adjustments
Camera profiles and presence controls shape the overall look of your image:
- Camera profiles: Different profiles (like Landscape, Vivid, or Adobe Color) provide various starting points for your edits
- Texture: Enhances medium-sized details without affecting fine details or overall contrast
- Clarity: Increases midtone contrast, adding dimension to your image
- Dehaze: Reduces atmospheric haze and can add contrast and saturation
- Vibrance: Saturates less saturated colors more than already saturated ones, creating a balanced look
- Saturation: Adjusts the intensity of all colors equally
Advanced Exposure Techniques
Landscape scenes often have a high dynamic range that exceeds what your camera can capture in a single exposure. Advanced techniques help you balance these challenging lighting conditions.
Exposure Blending
Exposure blending combines multiple exposures of the same scene to capture detail in both highlights and shadows:
- Shoot multiple exposures at different settings (typically bracketed by 1-2 stops)
- Use luminosity masks or gradient tools to blend the exposures selectively
- Focus on maintaining natural transitions between blended areas
High Dynamic Range (HDR) Processing
HDR techniques merge multiple exposures to create a single image with extended dynamic range:
- Use specialized HDR software like Photomatix, Aurora HDR, or Lightroom's HDR Merge feature
- Avoid the "HDR look" by keeping adjustments subtle and natural
- Consider using HDR as a starting point, then refine with additional editing
Pro Tip:
When shooting for exposure blending or HDR, use a tripod to ensure perfect alignment between frames. Also, shoot in RAW format to preserve maximum image data for the blending process.
Color Enhancement Techniques
Color plays a vital role in landscape photography, setting the mood and drawing attention to key elements of your composition.
HSL Adjustments
HSL (Hue, Saturation, Luminance) panels offer precise control over individual colors:
- Hue: Shifts colors along the color spectrum (e.g., making blues more cyan or purple)
- Saturation: Adjusts the intensity of specific colors
- Luminance: Controls the brightness of individual colors
Use HSL adjustments to:
- Make blue skies more dramatic without affecting other blues in the scene
- Enhance the warmth of sunrise or sunset colors
- Separate tones in a scene by adjusting their relative brightness
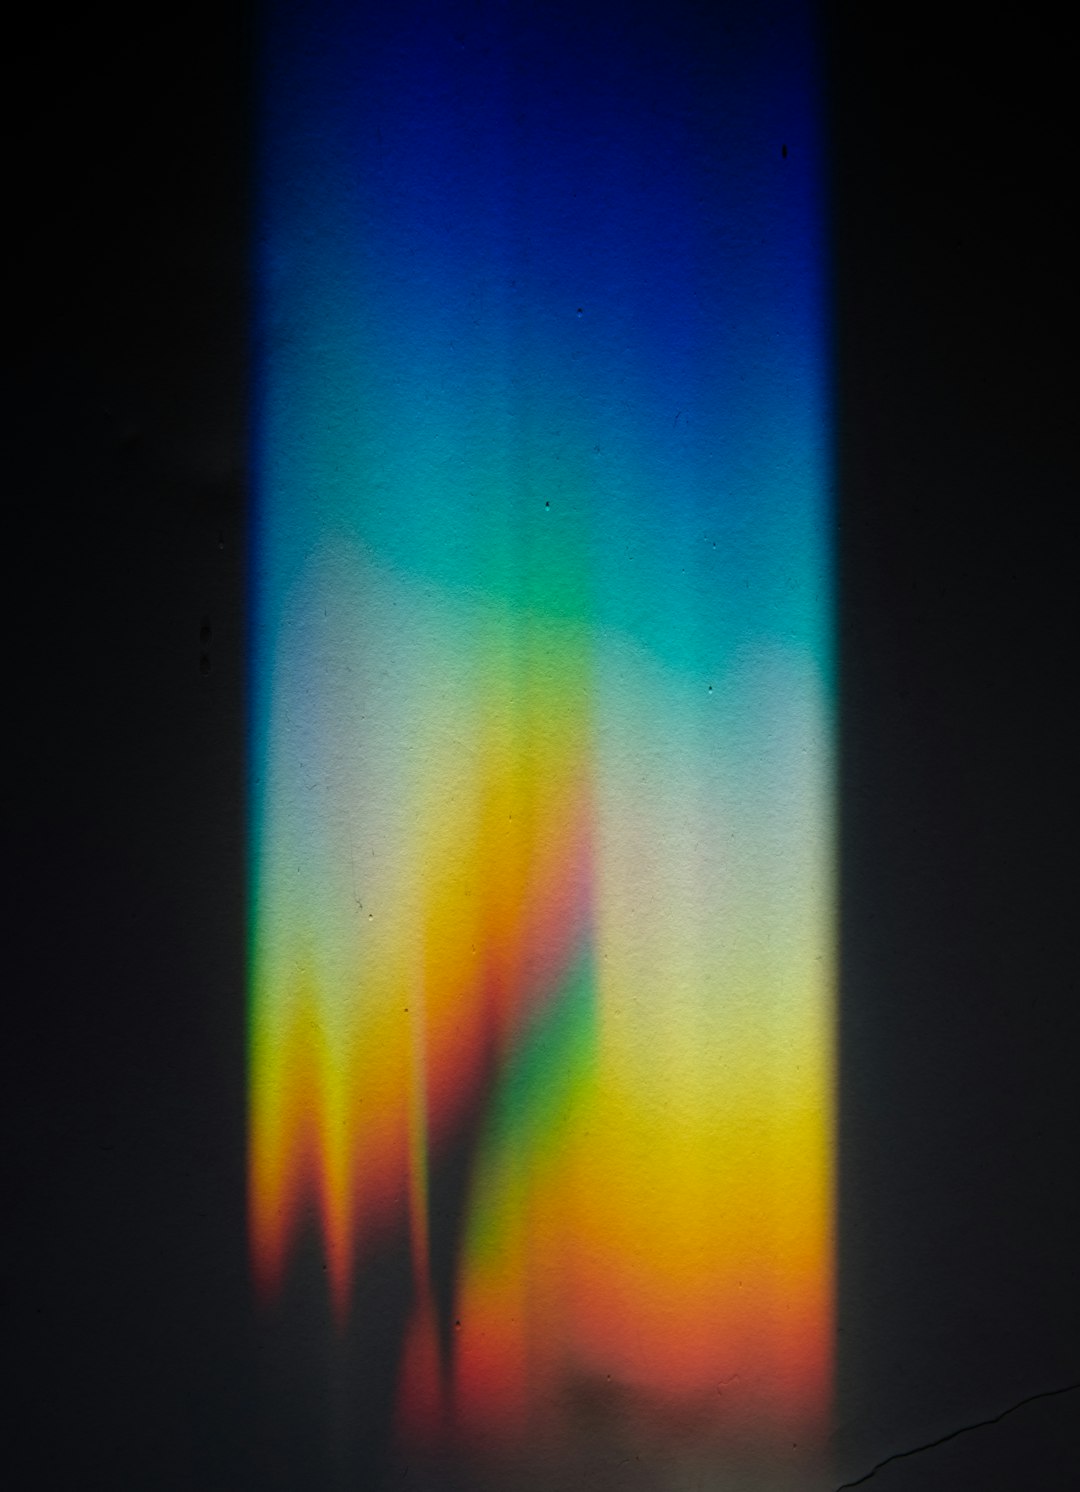
Color Grading
Color grading involves applying specific color tones to different tonal ranges:
- Split toning: Applies different colors to highlights and shadows
- Color grading: More advanced versions allow you to apply colors to shadows, midtones, and highlights separately
- Use subtle color grading to enhance the mood of your image
- Consider complementary color relationships for visually pleasing results
Targeted Adjustment Tools
Targeted adjustment tools allow you to make selective adjustments to specific areas of your image:
- Radial filter: Creates circular or elliptical adjustments, perfect for drawing attention to a specific area
- Graduated filter: Applies adjustments across a gradient, ideal for balancing sky and foreground exposure
- Adjustment brush: Allows for precise, painted adjustments with control over size, feather, and flow
- Range mask: Refines selection based on color or luminance range, making targeted adjustments more precise
Detail Enhancement
Bringing out the right amount of detail in your landscape images creates impact and realism without appearing over-processed.
Sharpening Techniques
Proper sharpening enhances detail without introducing artifacts:
- Start with global sharpening in the RAW processing stage
- Adjust the Amount slider based on the final output size and medium
- Use the Radius slider to control the size of the sharpening details
- Fine-tune with the Detail slider to control how much sharpening is applied to fine details versus edges
- Use the Masking slider to limit sharpening to edges only (hold Alt/Opt while dragging to see the mask)
Noise Reduction
Landscape photography often involves shooting at low ISOs, but noise can still be an issue, especially in shadows or when using high ISO settings:
- Use Luminance noise reduction to reduce graininess while preserving detail
- Apply Color noise reduction to eliminate color artifacts
- Consider specialized noise reduction software like Topaz DeNoise AI for challenging cases
- Apply targeted noise reduction to problem areas rather than globally
Pro Tip:
When applying sharpening, zoom to 100% view to accurately assess the effect. Different images require different amounts of sharpening based on the inherent detail and texture in the scene.
Local Adjustments and Selective Editing
While global adjustments affect the entire image, local adjustments allow you to enhance specific areas, creating a more balanced and impactful final result.
Dodging and Burning
Dodging and burning are traditional darkroom techniques that have been adapted to digital editing:
- Dodging: Selectively brightens areas of the image
- Burning: Selectively darkens areas of the image
- Use these techniques to guide the viewer's eye through the image
- Create depth by brightening foreground elements and darkening distant areas
- Apply subtle adjustments to maintain a natural look
Orton Effect
The Orton effect adds a dreamy, glowing quality to landscape images, particularly effective for certain types of scenes:
- Create a duplicate layer and apply a Gaussian blur
- Change the blend mode to Screen or Soft Light
- Adjust opacity to control the intensity of the effect
- Consider masking the effect from areas where sharpness is critical
Luminosity Masks
Luminosity masks are advanced selection tools based on brightness values in your image:
- Create precise selections of highlights, midtones, and shadows
- Apply targeted adjustments to specific tonal ranges
- Blend exposures with natural transitions
- Enhance contrast in specific areas without affecting the entire image
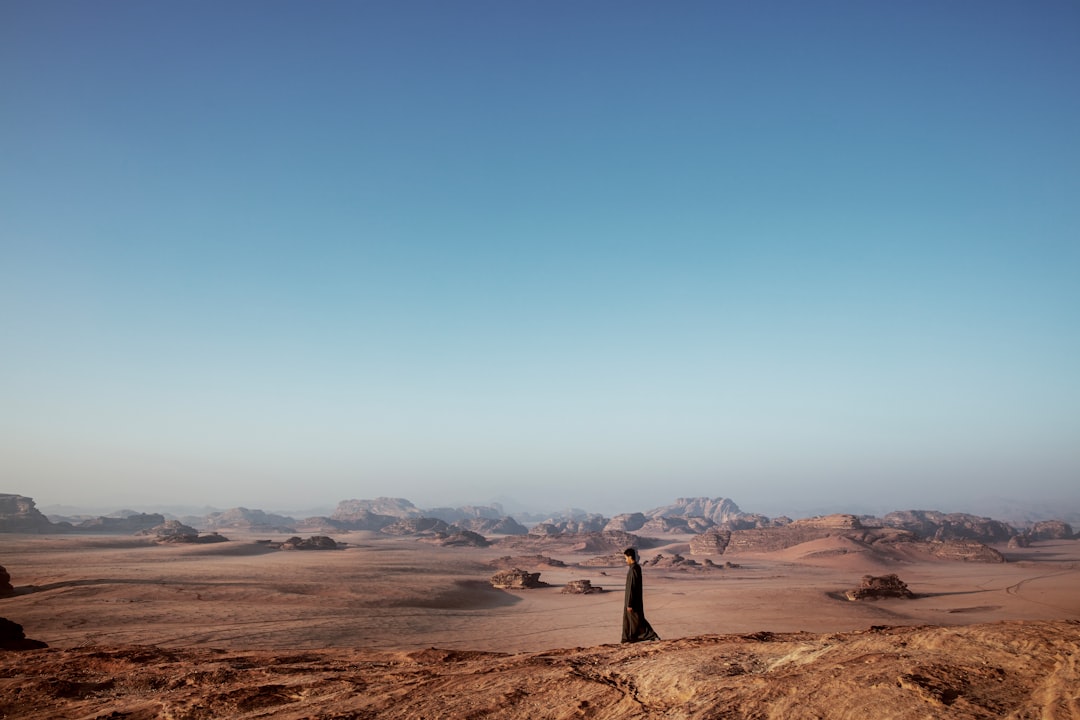
Specialized Techniques for Common Landscape Scenarios
Different landscape scenarios benefit from specialized post-processing techniques tailored to their unique characteristics.
Water and Seascapes
Water scenes present specific challenges and opportunities:
- Use long exposure techniques to create smooth, silky water effects
- Enhance reflections with targeted contrast and saturation adjustments
- Adjust white balance to capture the true colors of water, which can vary dramatically
- Use graduated filters to balance the brightness of water and sky
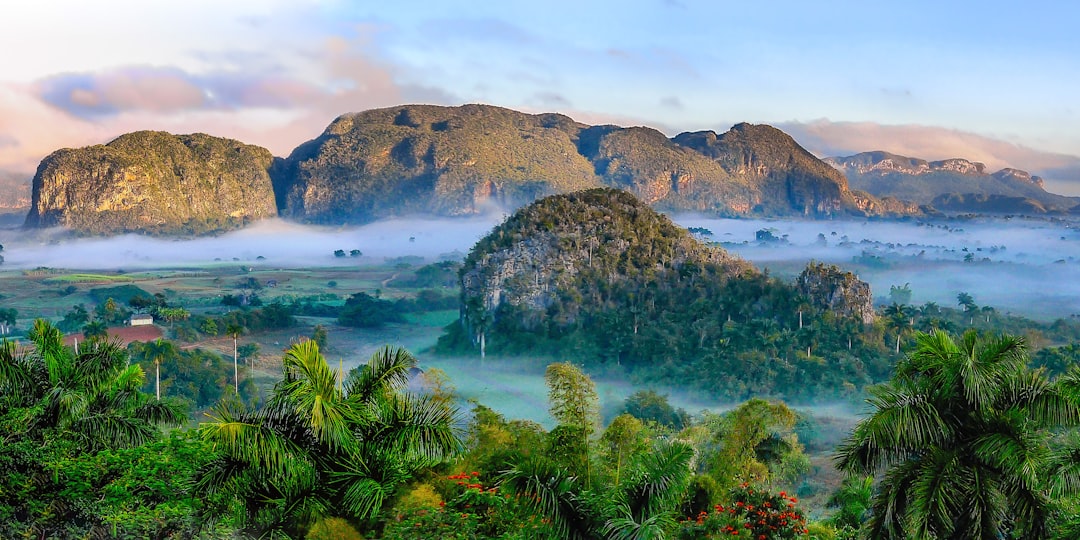
Mountain and Alpine Landscapes
Mountain scenes often benefit from techniques that emphasize grandeur and atmosphere:
- Enhance atmospheric perspective by gradually reducing contrast and saturation in distant elements
- Use targeted adjustments to bring out texture in rocky surfaces
- Apply subtle color grading to enhance the feeling of altitude and temperature
- Consider dodging and burning to emphasize the three-dimensional quality of mountain ranges
Forest and Woodland Scenes
Forest environments require careful handling of complex light and color:
- Use luminosity masks to balance dappled light and shadows
- Enhance the feeling of depth by adjusting contrast between foreground and background elements
- Adjust green tones carefully to avoid unnatural-looking foliage
- Consider adding subtle Orton effects to create a mystical atmosphere in foggy or backlit forest scenes
Pro Tip:
When editing forest scenes, pay special attention to the color channels. Green foliage often contains significant amounts of yellow and blue. Adjusting these channels individually can help you achieve more natural-looking greens.
Final Touches and Output Preparation
The final stages of post-processing involve preparing your image for its intended output, whether that's web display or print.
Cropping and Composition Refinement
Cropping is a powerful tool for refining your composition:
- Consider different aspect ratios for different types of displays
- Use crop overlays to apply compositional principles like the rule of thirds
- Straighten horizons and vertical lines for a more professional look
- Remove distracting elements at the edges of the frame
Spot Removal and Cleanup
Even the most carefully composed landscape images can benefit from cleanup:
- Remove sensor dust spots using the spot removal tool
- Eliminate small distractions like litter or branches
- Consider removing temporary elements that don't contribute to the scene
- Be mindful of maintaining the integrity of the natural environment
Output Sharpening
Different output mediums require different sharpening approaches:
- Web display: Apply moderate sharpening with attention to how the image appears at different display sizes
- Print: Apply more aggressive sharpening based on the print size, paper type, and viewing distance
- Consider using output sharpening presets in Lightroom or specialized plugins
- Soft-proof your image to preview how it will look in its final form
Color Management
Consistent color reproduction is essential for professional results:
- Work in a color-managed environment with a calibrated monitor
- Use appropriate color profiles for different output devices
- Convert to the correct color space (sRGB for web, Adobe RGB or ProPhoto RGB for print)
- Consider creating custom profiles for specific printers and papers
Developing Your Editing Style
While technical proficiency is important, developing a personal editing style is what sets your work apart.
Consistency in Processing
Consistent editing creates a cohesive portfolio:
- Develop presets or adjustment templates as starting points for your images
- Establish a consistent approach to color and contrast
- Apply your stylistic choices thoughtfully rather than indiscriminately
- Consider how individual images fit within your broader body of work
Balancing Enhancement and Authenticity
Striking the right balance between enhancement and authenticity is crucial:
- Enhance the qualities that were present in the original scene
- Avoid creating elements that didn't exist or dramatically altering the atmosphere
- Consider the ethical implications of your editing choices
- Be transparent about significant alterations when sharing your work
Continuous Learning and Experimentation
Post-processing techniques and tools continue to evolve:
- Stay updated with new software features and plugins
- Study the work of photographers you admire and analyze their editing approaches
- Experiment with new techniques on a regular basis
- Join photography communities to share knowledge and receive feedback
Conclusion
Post-processing is a powerful tool that allows landscape photographers to realize their creative vision and overcome the technical limitations of camera equipment. By mastering the techniques outlined in this guide, you can transform good captures into extraordinary images that truly represent the beauty and majesty of the natural world.
Remember that post-processing should enhance rather than replace good photographic technique. The most compelling landscape images begin with solid composition and technical execution in the field, with post-processing serving to refine and elevate the final result.
As you continue to develop your post-processing skills, focus on creating a style that reflects your unique vision while respecting the natural beauty of the landscapes you photograph. With practice, patience, and attention to detail, your post-processing workflow will become an intuitive extension of your creative process.


About the Author
James Wilson
Professional landscape photographer and digital artist with 12+ years of experience. Specializes in wilderness and mountain photography with expertise in post-processing techniques.